My son has a love for everything soccer so when I suggested a swimming party at the local gym he said only if it’s a soccer party.  The best part of this party was how easy it was! The cake was frosted like grass along with the cupcakes. That was my sons favorite part was his grass cake in the goal.
 In the past I will be the first one to say I may have gone a little crazy party planning. This year however was a very busy few months and everything was planned and finished in no time at all. No stress and it still has the little guy so excited. The guest tables were all covered in green table cloths with paper soccer balls.
Category Archives: Uncategorized
Soccer Birthday Party
Kids New Years Party
The kids were so excited to have their very own New Years party two years ago. I did drop the ball and did not take very many photos of all of our actives. I put everything together the day before so with a little more planning it could be even more fun. The kids had a blast though and my kids who go to bed at 8 made it all the way to midnight with our hourly activity count down.

I was getting ready to take down the tree when I thought what a great way to hold all of our hats, glasses and blowers for midnight. Right before midnight we all went to the tree and picked out our party gear.

We had a planned activity or treat planned for every hour. Each child got a chance to pop a balloon labeled with each hour on them.

One of the balloons announced a snack of milk and cookies. The kids thought this was very cool.

They also got to play the one handed skittle race. They each had the same number of skittles and cups labeled with the colors on them. Each kid had to as fast as they could sort the skittles with one hand and put them in the right cup. This started off very cautiously but got very fun and loud as they got close to the end. They also loved eating the skittles at the end.

One of the balloons had the game where  everyone puts a Oreo on their forehead and by just using the muscles in their faces they try to get the cookie in their mouth. This was a blast to watch the grown ups even joined it.

At midnight they toasted in the new year with sparkling grape juice.
Paper Lanters W/Balloon
Have you ever used a paper lantern for a party and you cant get it to look full. This past November I pulled out some lanterns that I had used 2 years before but I could not keep them from collapsing. Just blow up a balloon of a matching color inside and it looks great!


I found the balloon a plus with this one cause I attached it to a balloon stick.

Hot Chocolate Gifts

Last year I wanted to buy mini glass milk bottles for my sons birthday party. None of the local stores carried them at the time so my choices were buying online with crazy shipping or buying some bottled Starbucks Frappuccino at my local supermarket and remove the labels.


So its been well over a year and I still have the sitting around and was trying to figure out what to do with them. My kids love to drink hot coco out of them so I decided to make a mini hot coco bar in a box.


I just traced the carton on a sheet of 12×12 scrapbook paper and then glued it together. It only takes one sheet unless you want to use different patterns. I then added a circle on the top of the lids but spry painting them would work great as well. Then I added some scrape ribbons on the bottles. The last thing is to fill with items of your choice. I put candy canes, coco mix, peppermint marshmallows, and cookies inside mine.
Healthy Halloween Snack
Last year I got out my sharpie and made pumpkin oranges this year string cheese ghost. The kids love them and they didn’t miss cupcakes for one second.


Healthy Halloween Class snack
I finally did it! I pinned these cute little orange/pumpkin snacks for preschool a very long time ago. I am so glad I remembered them today when trying to come up with a fast treat idea. Funny how a sharpie marker can make my day!
A special thanks to http://pimpmydinner.blogspot.com/2011/10/spooky-healthy-snack.html this is such a great idea!
Candy Corn Fall Decorations
So this was my little fall project last year. I am planning on spending sometime on pinterest tomorrow to look for something exciting to make for fall. Now that the kids are back to school I feel like getting crafty again.
While the crisp fall air and autumnal colors are still a few weeks away all I can think about is fall. I find myself searching pumpkin and apple recipes, Halloween costume ideas, and fall decorating ideas most nights.
I love fall foods and candies but candy corn is probably my least favorite. As soon as I saw the candy corn cones I instantly fell in love with them and several other projects that use them or was inspired by them. One of my favorite projects so far is from Thrify decor chick @ http://thriftydecorchick.blogspot.com/2011/09/candy-corn-love.html. Although I have only made one of the 3 projects today I might be making the others very soon. You should check hers out they do look a little different.

The original was made with a foam cone. I know it would have been easier and stronger but I didn’t have any and I did have sheet after sheet of poster board so thought I would give…
View original post 300 more words
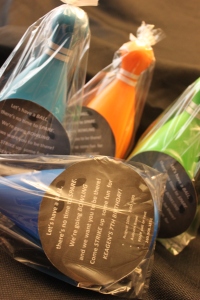
Bowling Pin invitations
 My son is having a bowling party at the local bowling ally in a few weeks.
These are in the invitations we came up with.
We got a kids toy bowling game. Then I hot glued two ribbons around the neck of the pins. For the ball I just used clip art bowling ball and typed in white font. Then we cut the balls out and placed the pins and balls in plastic bags and tied the top. The best part is you get 10 pins in the set and ours was only $6.00.
The wording is:
Let’s have a BALL,
there’s no time to SPARE.
We’re going BOWLING
and we want you to be there!
Come STRIKE up some fun for
NAMES # BIRTHDAY!
Enchiladas
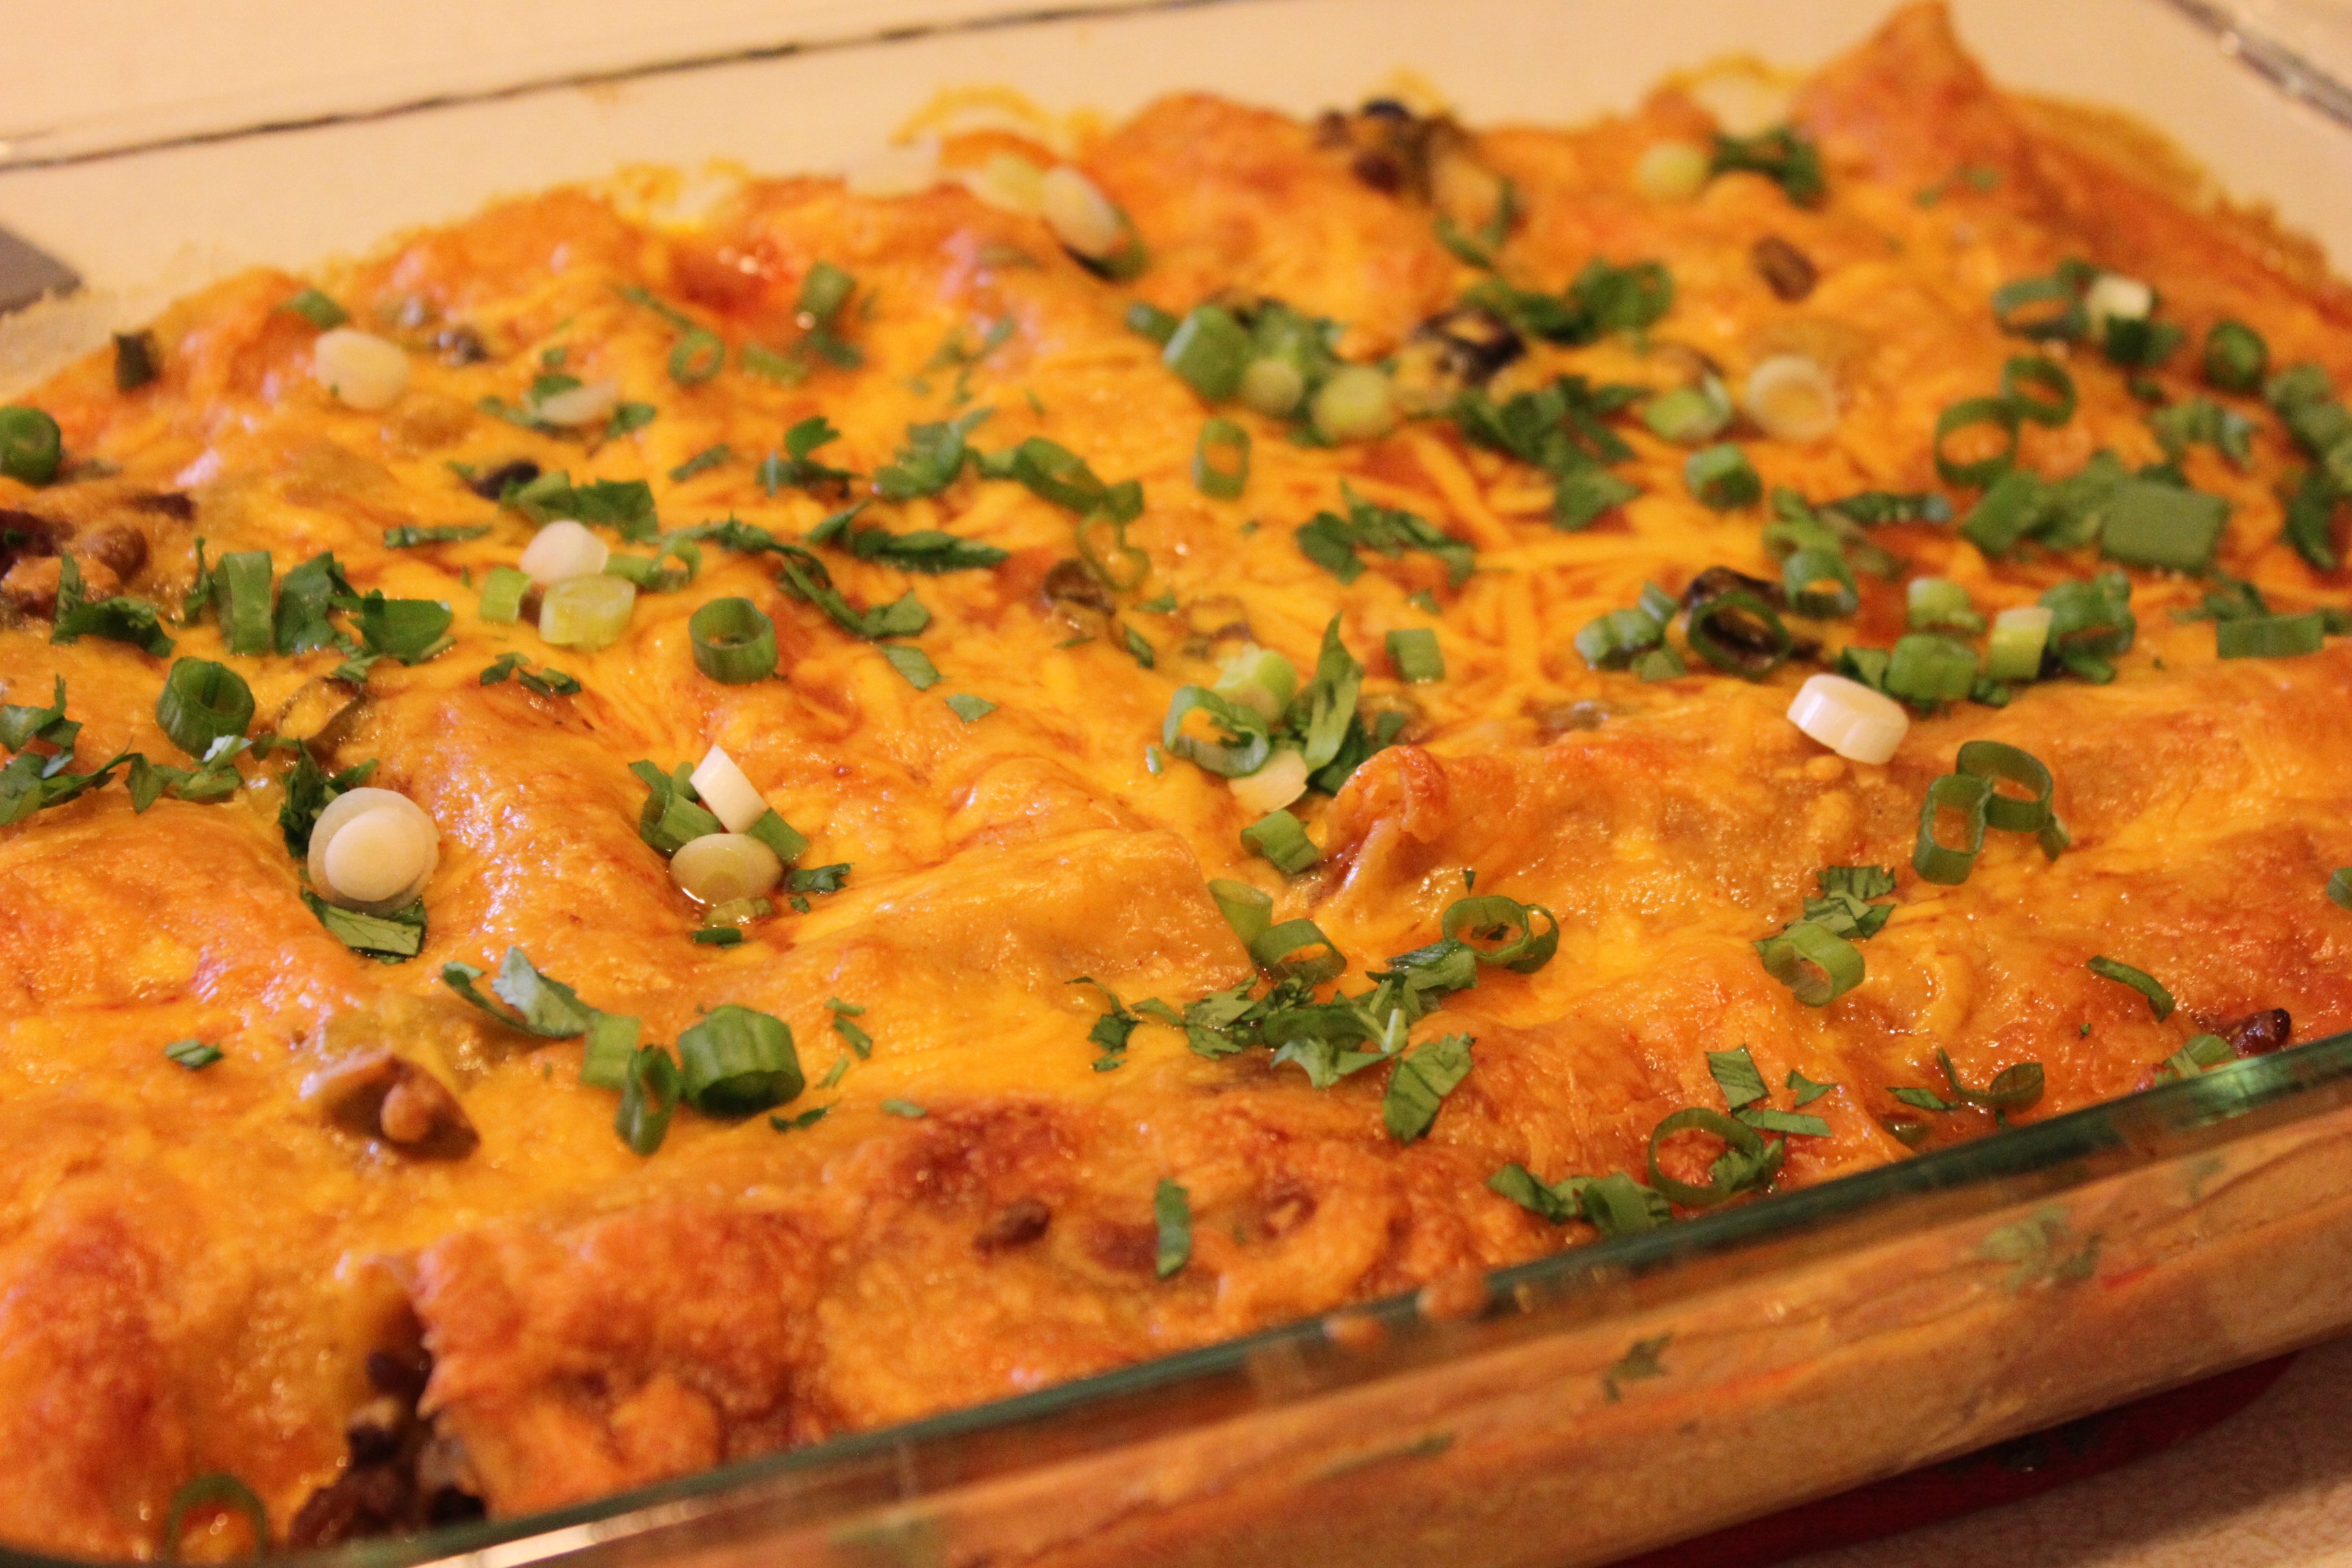


I found this recipe from the Pioneer Woman @ http://thepioneerwoman.com/cooking/2008/09/simple-perfect-enchiladas/.
This was my first time I made a any of her recipes so I had my fingers crossed that they would turn out. Her step by set photos were great! The only thing I did diffently was I did not chop the olives and for a few I only used the meat mix with cheese for the kids. They were surprisingly easy for as many steps as it took but sure beat other simple enchiladas I have tried. Although it was can sauce they tasted surprisingly fresh with all the add ins. We all enjoyed them and will make them again.
(but I may try chicken next time just for fun)
Ingredients
FOR THE SAUCE:
1 T Canola Oil
1 T All-purpose Flour
1 28 ounce can Enchilada Sauce
2 cups Chicken Broth
1/2 t Salt
1/2 t Black Pepper
2 T Chopped Cilantro
_____
FOR MEAT MIXTURE:
1-1/2 lbs Ground Beef
1 whole Medium Onion, Finely Diced
2 4 ounce cans of Diced Green Chilies
1/2 t Salt
_____
FOR TORTILLAS:
10-14 whole Corn Tortillas
1/2 cup Canola Oil
_____
ASSEMBLEY:
3 cups Grated Cheddar Cheese
1/2 cup Black Olives
1 cup Chopped Green Onions
1/2 cup Chopped Cilantro
Preparation Instructions
Step #1 – The Sauce
In a large saucepan over medium heat, add oil and flour and whisk together to make a paste, cooking for one minute. Pour in the red sauce, chicken broth, cilantro, salt and pepper. Bring to a boil. Reduce heat and simmer 30-45 minutes.
Step #2 – The Meat
Brown the meat with onions in a skillet. Drain off fat. Stir in 2 cans diced green chilies and seasoned salt. Set aside.
Step #3 – Tortillas
Heat canola oil in a small skillet over medium heat. One by one, using tongs, fry tortillas in oil until soft, not crisp – about 30 seconds per side. Remove to a paper—towel lined plate. Repeat until all tortillas have been fried.
Step #4 – Assembly
Preheat oven to 350 degrees. Pour ½ cup red sauce in bottom of baking pan. Spread to even out. Dip each tortilla into red sauce, then remove to work surface. Spoon meat, a little grated cheese, a little black olives, and green onions in the center of tortilla. Roll up and place, seam down, in baking pan. Repeat until pan is filled. Pour extra red sauce over enchiladas. Top with remaining cheddar cheese.
Bake for 20 minutes or until bubbly. Sprinkle cilantro over enchiladas before serving.
